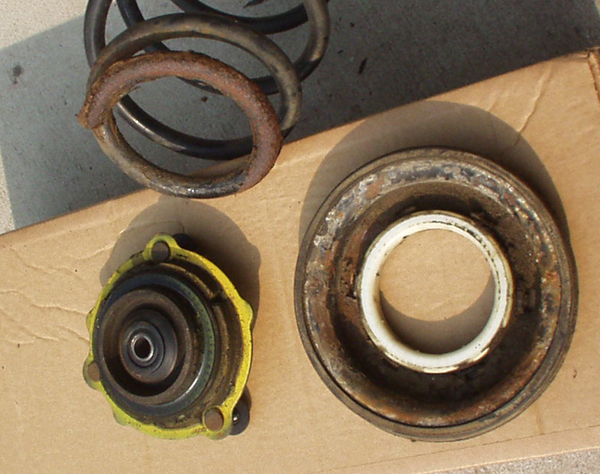
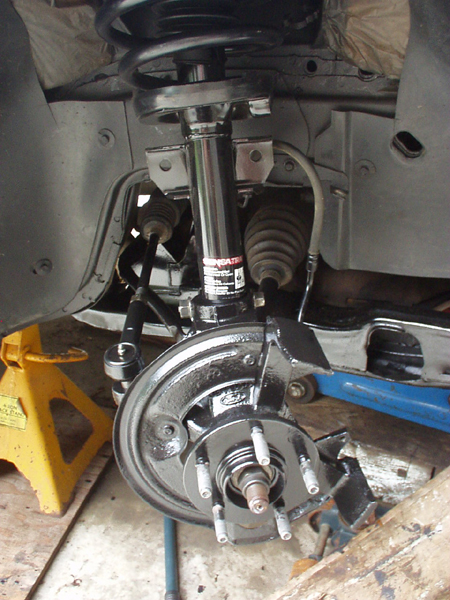
My o.e.m. front struts were completely shot, and at 114k miles I wasn't surprised. When changing a strut this old, I always change the bearing/mount at the same time. Even if it's still servicable, its days are numbered, and I don't want to go through this wrenching again in the near future. I also wasn't surprised to find the amount of looseness and corrosion you can see in the pic, but I was very surprised at the amount of corrosion damage suffered by the spring. The closer I looked, the worse it appeared. I decided to replace the spring as well.
A less expensive alternative to purchasing the parts separately is to buy a replacement strut assembly. I wasn't interested in performance springs/struts for this car at this time, so this assembly from Monroe fits my need perfectly. The assembly includes everything you need for the swap, except four items.
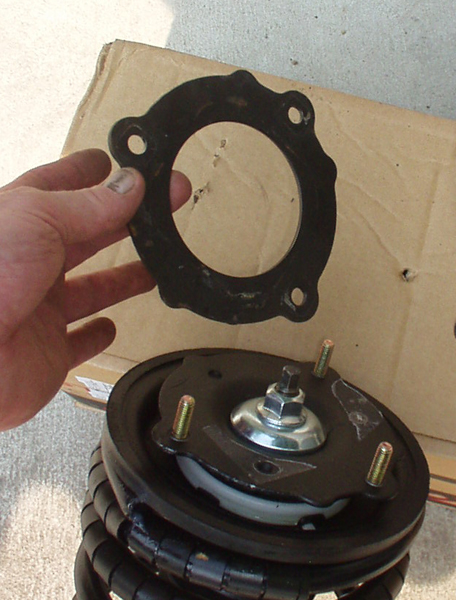
The first item you need to save from the original install is this reinforcement ring. It goes between the bearing/mount and the strut tower. It may even stay stuck in the tower when you remove the old strut. Clean it up, de-rust, paint and put it onto the top of the strut assembly as I am preparing to do. Don't worry about putting it on incorrectly, you can't.
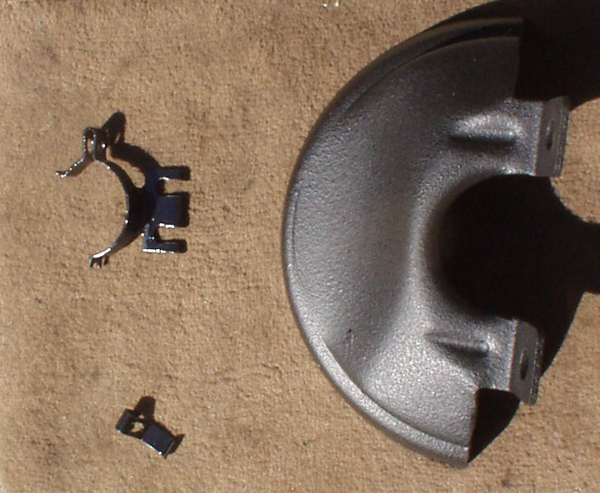
The next two items you must also save from the original install are at right. The shroud from the base of the spring perch, and the clip to hold the ABS cable. You can see my clip broke. I threw the small section away and modified the rest of the clip to accept a zip-tie to mount it to the strut. I have already cleaned and painted these.
The fourth item you need to provide is a new lnuckle/strut pinch bolt.
Prep And Install
I took advantage of having the old assembly out of the car and removed the fender liner and cleaned, de-rusted and undercoated all metal. Remember to re-install the liner before you install the new strut assembly.
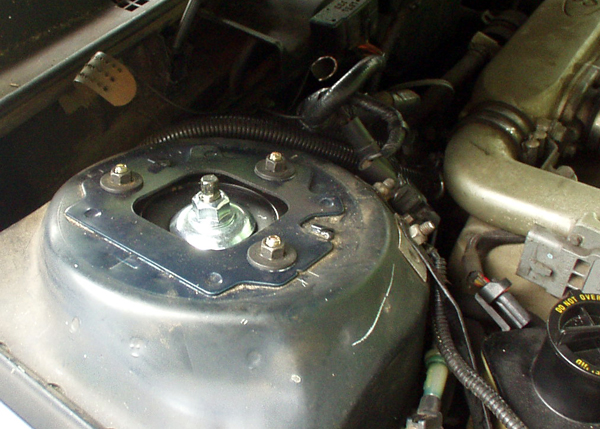
Installing the assembly is a one-person job. Be sure to have the mounting nuts available and feed the assembly up into the tower from below - you remembered the reinforcement ring didn't you? Align the studs with the holes (they can only go in one way). Hold the assembly up with one hand as you thread the nuts onto the studs with the other. Worry about tightening them later. Loose is good for now.
Align the grooves in the hub with the half-shaft and slide the knuckle on as far as it will go. You can then rotate the knuckle to align with the strut. Leaving the strut loose allows some extra motion to assist alignment. Once the knuckle is properly aligned it will slide onto the strut quite easily. Put your new pinch bolt through the knuckle as soon as it aligns with the alignment tab on the rear of the strut. You can use the hub nut to pull the hub onto the half-shaft the rest of the way. The rest of the connections are obvious or covered in other more detailed logs.
As an alternative, you can assemble the knuckle and strut off the vehicle and install them both as a unit. This requires some extra muscle for one person, but will save a bit of time providing you have not installed the tension strut rod/LCA yet. That job is detailed here
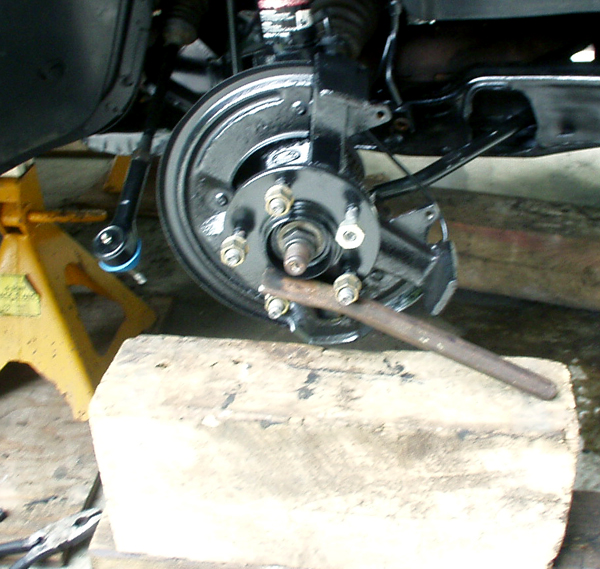
Use a pry bar of some sort to brace the wheel lugs when tightening or loosening the hub nut. There are a bunch of ways to work this out. I'm showing one example here. You cana even brace the bar against the caliper seats on the knuckle if you want. I suggest using lug nuts to protect the threads when doing this.
When installing the LCA ball joint stud into the knuckle, align the stud and hole as best you can and push them together. Don't be afraid to use a jack with a wood block to help things along. Once the stud is far enough into the knuckle to allow the pinch bolt to be inserted, you are aligned properly.
Install the tie rod end into the knuckle, then go back to the nuts at the strut tower and begin to tighten everything to proper specs. I chose NAPA tie rod end #269-2667 (same for both sides).
Install the splash shield and sway bar end link last. I chose the NAPA end link #265-2142 (same for both sides).
Don't forget to properly tighten all fasteners