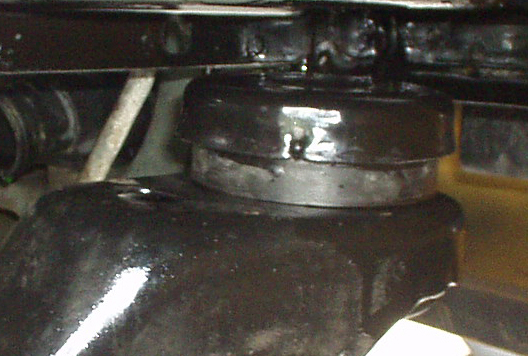
This bushing actually looked fine while installed. Internal failure was only apparent after removal. The bolt itself was actually in good shape - no material lost due to corrosion. click pic for larger
This bushing was showing some wear, but nothing indicated the extent of the failure that was apparant after removal. Missing pieces of steel were adhered to the sub frame and required light chiseling to remove. Again, the bolt was in good condition
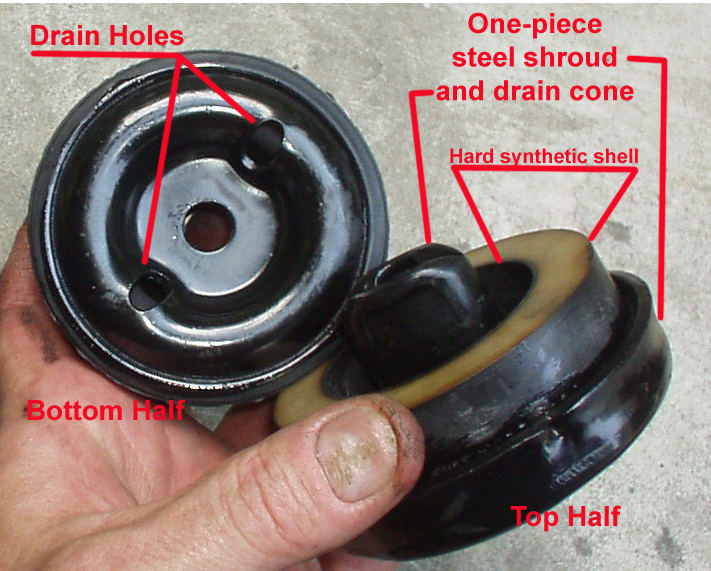
I chose to replace the bushings with these pieces from RCM. A few SHO sources claim these to be ideal for the SHO, even better than the police version. We'll see. The picture shows two top-halfs for better understanding. You only get one in each bag. This is a completely different design made from completely different material.
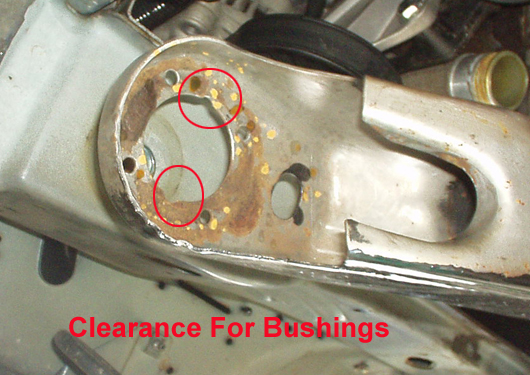
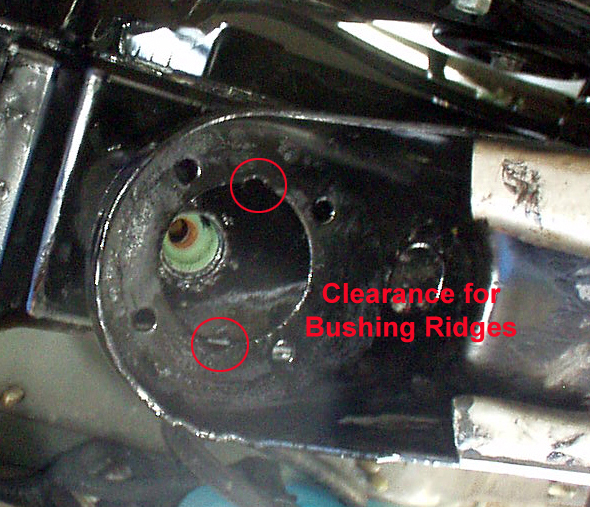
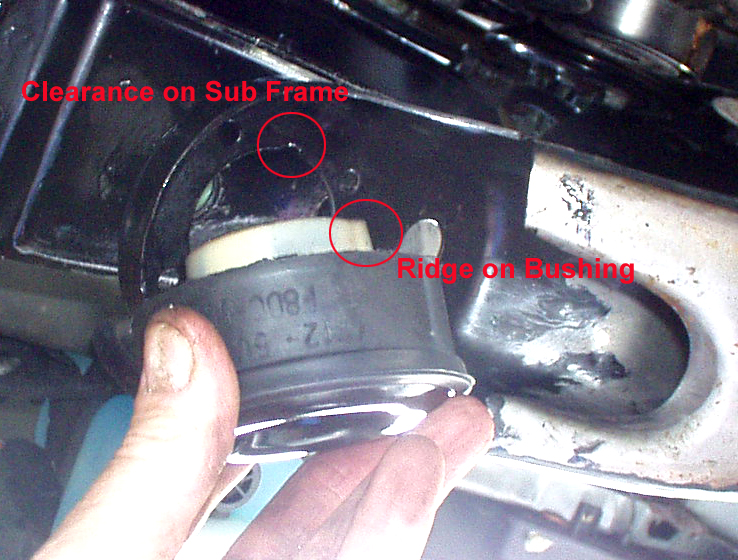
Again, two parts shown to give more clarity. The two parts mate with an interference fit. Notice the two ridges on the sides of the portion that fits through the sub frame (see larger pic). Clearancing of the sub frame is necessary for these to fit. Some folks use a hand file, I chose a Dremel and was done in 5 minutes
This same new bushing assembly is used at all four positions.
The kit from RCM - #RCM-921SFB includes four tops and four bottoms
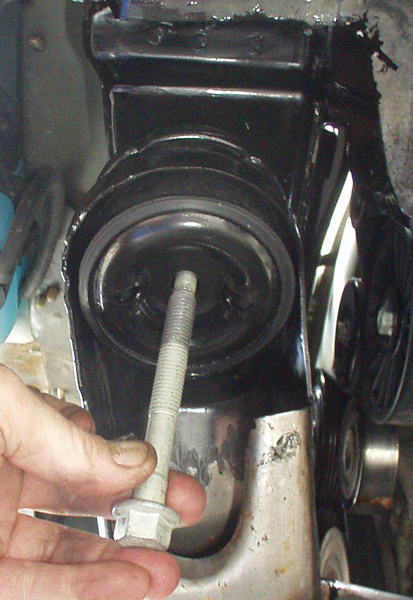
I ordered and installed new bolts from RCM. A set of four is part #RCM-922
The Sub Frame Recall had already been performed on this vehicle 70k miles earlier.
The top piece is comprised of a mushroom-shaped steel stamping using heavier gage steel than the stockers. The new shape laps further down the side of the bushing material to shed water away, and the center cone diverts water to the drain holes in the bottom section. My original bushings had a design that obviously retained water. This design discourages the intrusion of water and readily drains any that finds its way inside.
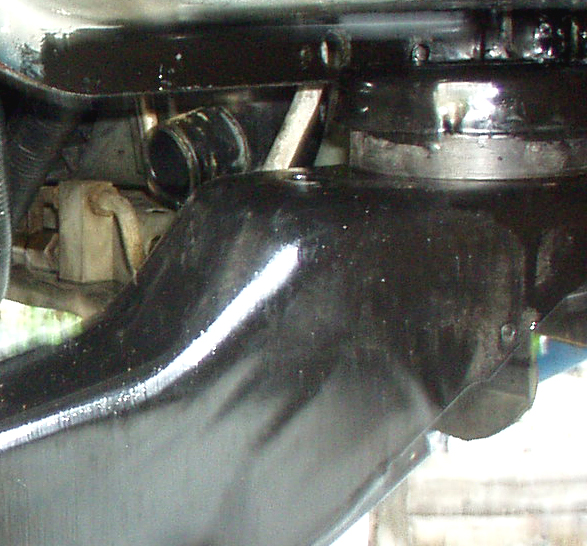
Rear mount area cleaned and bushing area clearanced to recieve new bushing.
I used POR-15 to protect the steel from rust. I have had excellent results with this product when following manufacturer's instructions. I only took the time to finish the mount areas. I'll do the rest of the sub frame before putting the car back on the road.
Align properly, push into place, allow friction to keep it there. Be sure to take note of elongated hole orientation to properly align top half.
Align with the bottom and squeeze together. Nothing to it. I lubed the steel of the top piece so it would slide more smoothly into the bottom.
Put some anti-sieze on the threads and start threading into the plate/nut captured in the frame.
Do not use the bolts to raise the subframe back up to the body. Do the lifting with a jack and then properly torque the bolts.
Be sure to align your sub frame before torquing bolts to final value. This is easily done utilizing the provided alignment holes and has been coverd thoroughly in other logs