Front Motor Mount - NAPA #602-2079
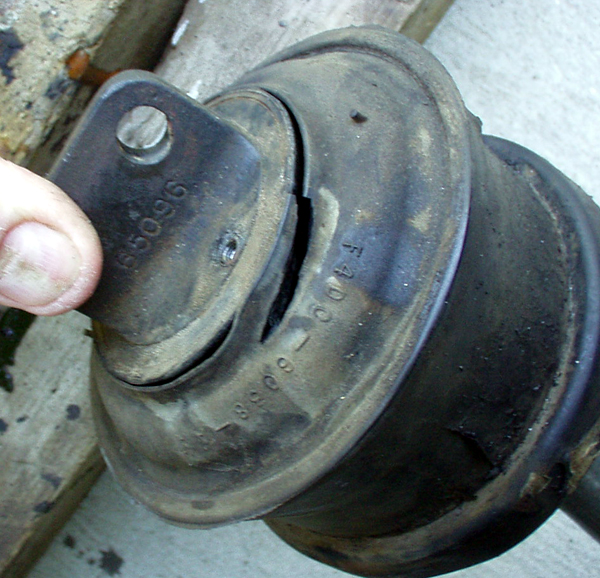
Revving the engine a bit with the brake on in Drive or Reverse showed excessive rotational movement of the motor along its axis. At 114,000 miles, a sure sign that motor mounts were probably in need of replacement. Pic to the right shows clear evidence of failure. click pic for larger |
|
| Close-up of the same area makes the level of failure even more apparent. It took minimal manual effort to open this crack. Imagine how much more it opened with the torque of the engine. I was happy to find this when I did. |
|
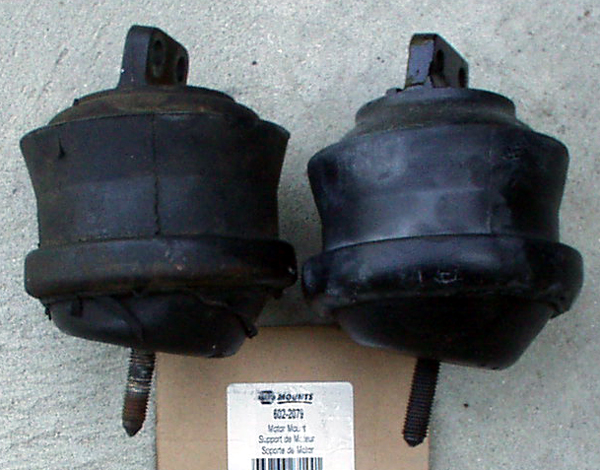
| New mount from NAPA. Outwardly identical but very different internally. Holding the original mount by the upper bolt tab and tapping it vertically onto its bottom stud resulted in a dull sound and no rebound. The same action with the new mount results in a slight, but distinct rebound, and a quiet "ping". The internals must be as broken as the exterior appears. Didn't take the time to cut it open, too much to do- maybe in the future. |
|
| Close-up of the label from the box the mount came in |
|
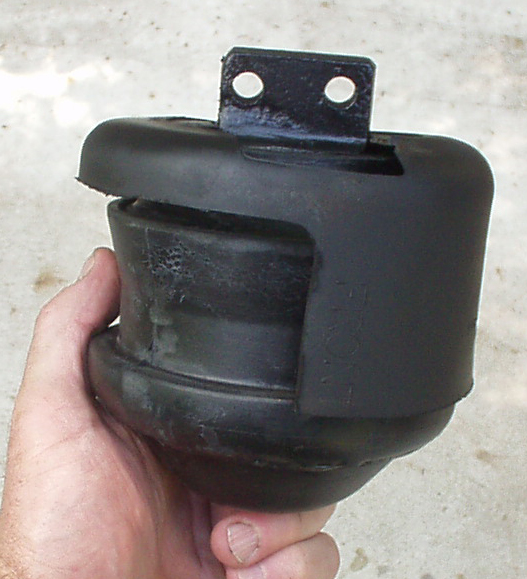
| New mount ready to install. A new heat-shield was supplied with the new mount. It seemed to be made of neoprene and was quite distorted out of the box. I liked the form of the original shield more, so I painted it and installed it on the new mount. |
|
Installation Note
While this mount can be removed and installed without removing the lower radiator hose, the job is so much easier with the hose removed, that I strongly recommend removing it before attacking the mount. |
|
Rear Motor Mount - NAPA #602-1929
If your front mount has been broken for any length of time, odds are the rear is broken as well. Accessing this mount is not as easy as the front, but still achievable. |
|
| I was in the process of replacing the entire front suspension so I had better access than most will. Even with the strut, strut rod and LCA out of the way, I still had to lower the sub frame and the engine in order to get my hands in position. This mount sits on a tower with a stud protruding into the tower. There is a nut on this stud from underneath. There are also two 13mm bolts that attach the top of the mount to the engine block (just as in the front). These bolts are the awkward ones, but thankfully they are not as long as the front bolts. Undo the nut, jack the engine up about 1 inch, undo the bolts, rotate the mount so the front is towards the wheel well and then tip the top of the mount into the wheel well and you will have clearance to withdraw the stud from the tower. Sounds more complicated than it is. |
|
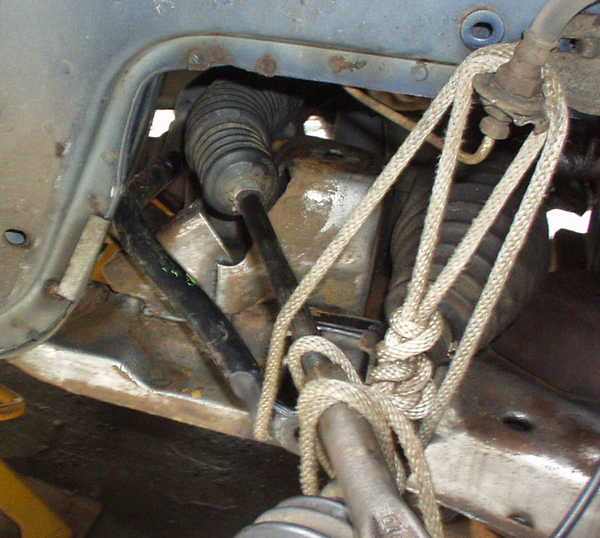
| This is a picture of the tower and sub frame after the mount has been removed and some degreasing has been done. I'm not concerned with the minor rust because I intend to POR-15 the sub frame and it actually adheres better to rust than to clean metal. The rope is used to hold the axle in position, but I included the sway bar and tie rod to make cleaning easier. |
 |
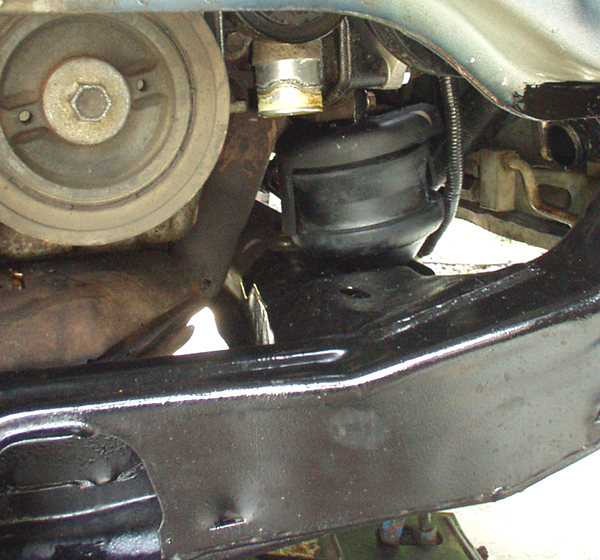
| The new mount is installed on its tower after the accessible parts of the sub frame have been coated with POR-15. I used locktite on the bolts. The nut is not run down yet because I will be replacing the trans mount as a part of this project and I want the engine to move free of the sub frame |
|
| Questions or Comments? Email Me |
|
Transmission Mount - NAPA #602-1647
The original mount (pictured) looked fine, but considering its age and the amount of motion allowed by the other two mounts, I felt it prudent to swap this out as well. The sub frame was already lowered to replace the sub frame bushings, and I had left the nuts loose on the two other motor mounts so the motor could tilt easily without undue stress on the mounts themselves. I placed a jack under the crankcase (2x4 between), loosened the one nut on the stud at the top of the trans mount, and jacked until I got sufficient clearance to remove the mount. |
|
| This is a pic of the mount out of the car, but the pic below tells the true story. |
|
| That's right. This mount actually came out in two pieces. I didn't separate them in removal. The only thing keeping the two halves in contact with each other in the car was gravity. Even worse, the lower section formed a "bowl" that was full of greasy slime, probably from my frame cleaning. Probably held water after rain and snow in winter also. Not a good situation at all. |
|
| Pic of the new mount |
|
I decided to remove the bar on the trans and the saddle on the frame that this mount bolts to. It's only 6 bolts and I wanted to see the condition of the trans cover which was blocked by the mount assembly. I cleaned the cover off and found . . . RUST! very pronounced rust on the section facing the ground. Good thing I checked. Prep and POR-15 for this piece also. |
|
| Questions? Comments? Email Me. |